
- Tyler-specific guides cover waterproofing, curbless showers, conversions, and cost
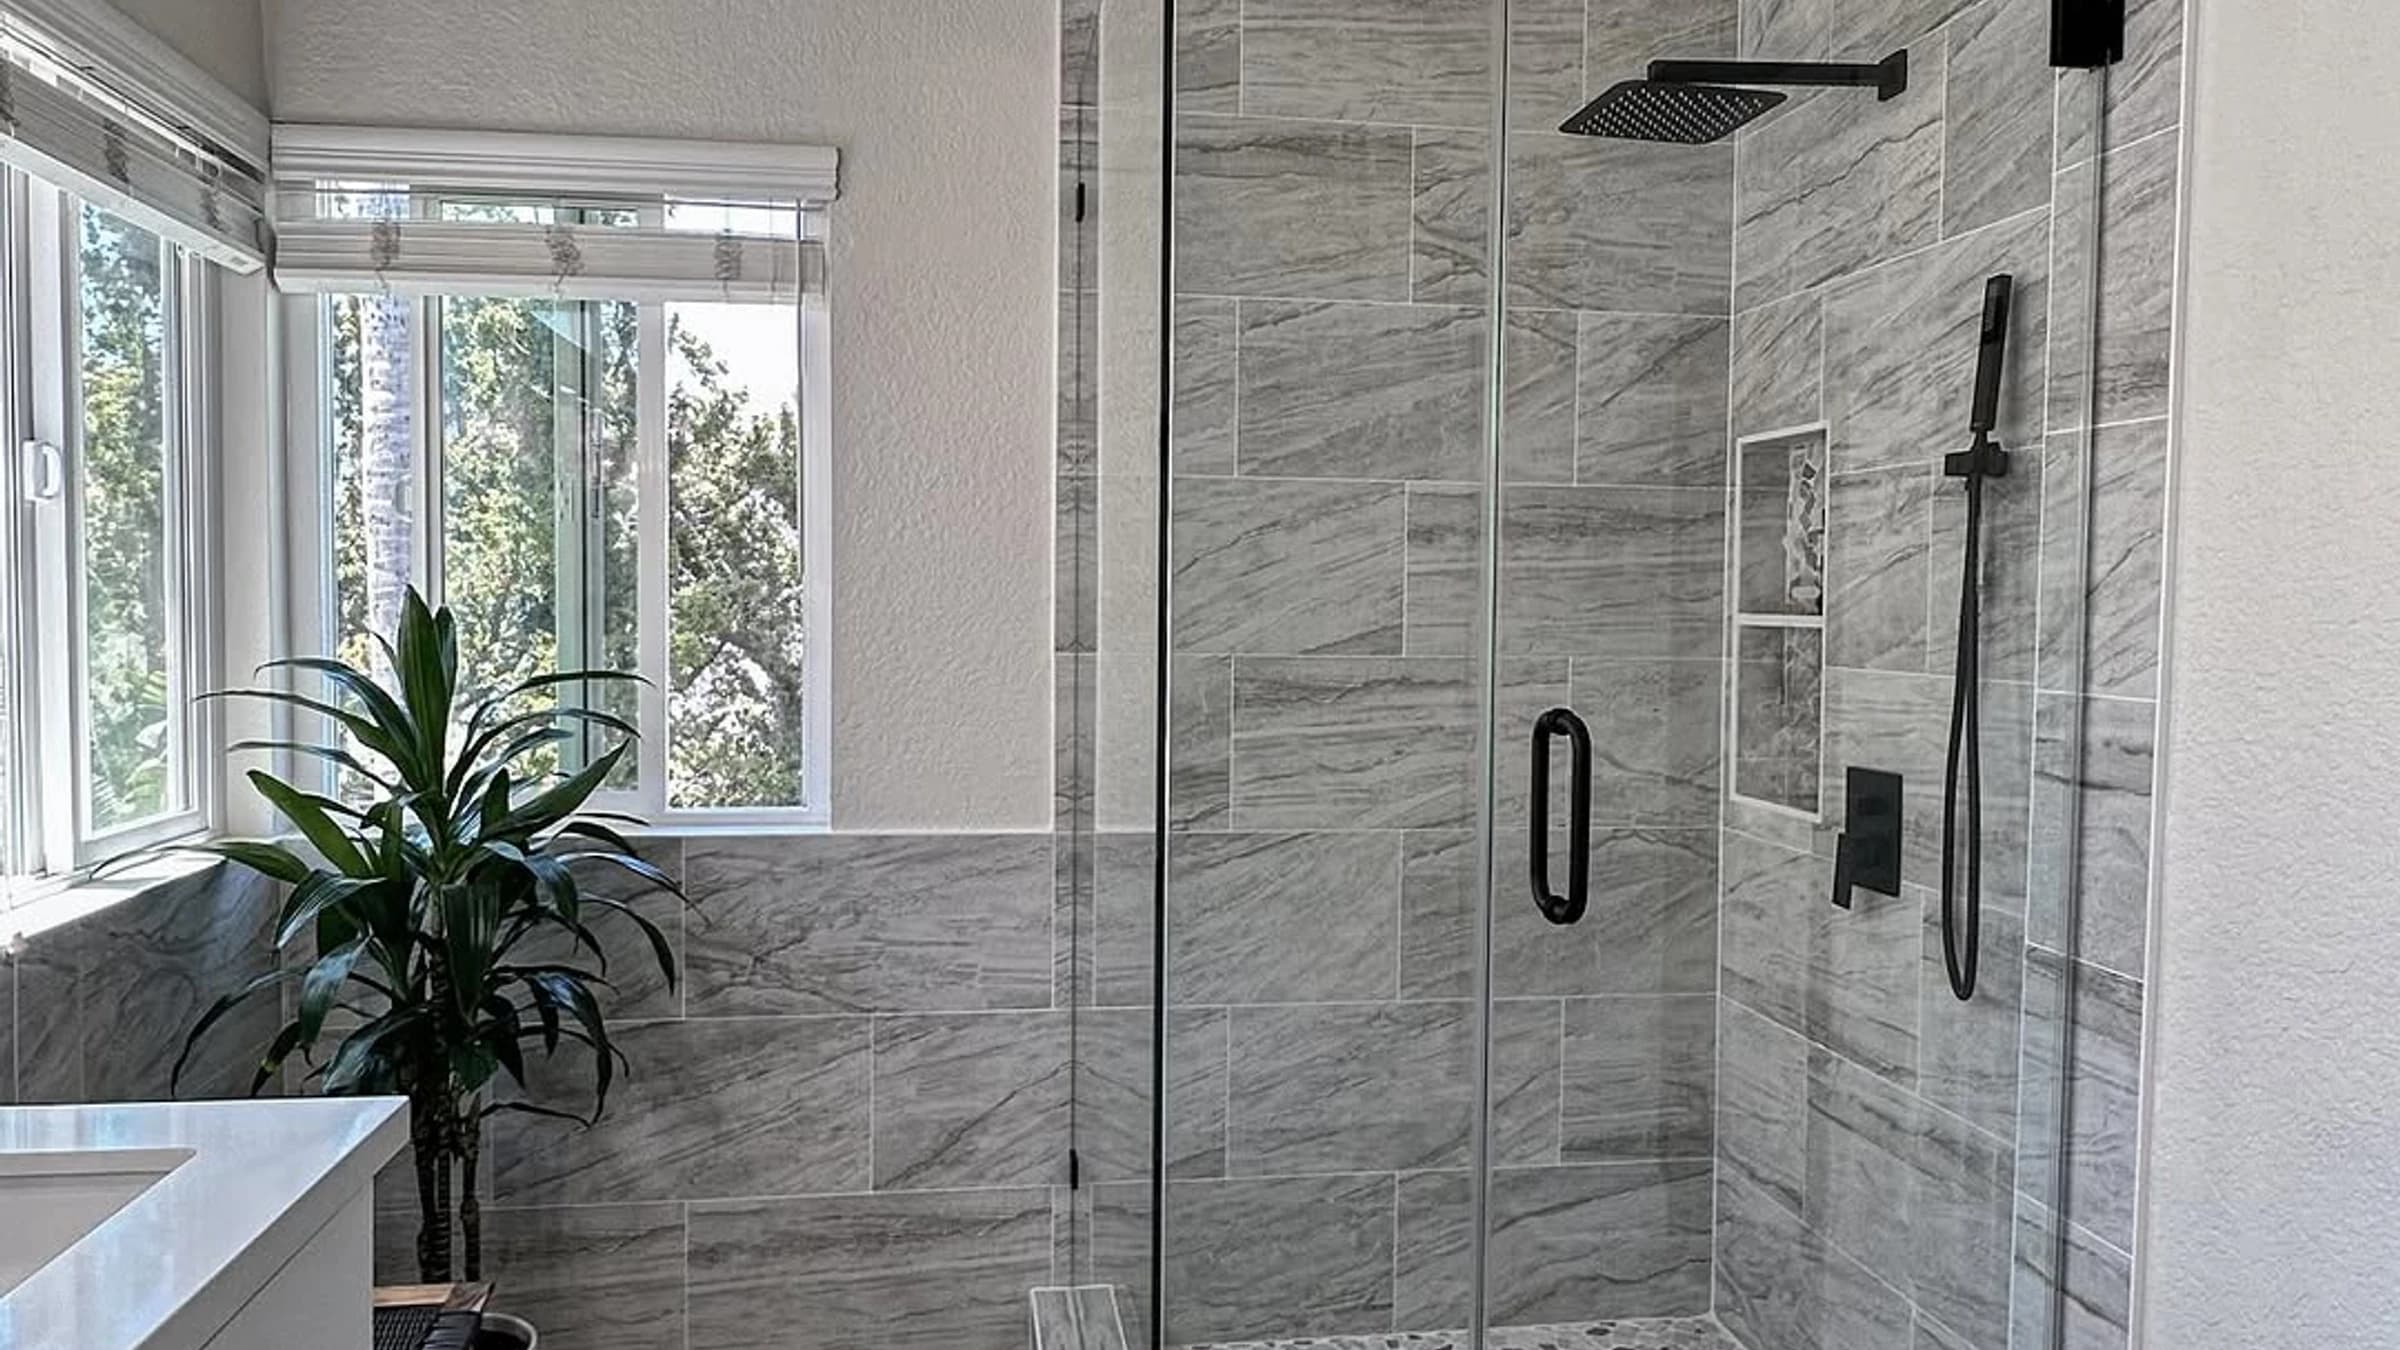
- A published Tyler project documents glass, pony walls, tile, and two shower heads
- Curb, slope, drain, door swing, bench, and niche decisions start with the room
- Final glass and tile quantities depend on field conditions and finished dimensions
- Request an in-home review when the decision path and must-have details are clear
Tyler Custom Showers
Custom Showers in Tyler, TX
Plan a Tyler custom shower from the hidden water-management system outward: footprint, entry, drain and slope, waterproofing, fixtures, tile, storage, and glass.
Serving Tyler and nearby East Texas communities.
Why Homeowners Call Pioneer
Choose the shower system before choosing the tile
This Tyler guide separates the decisions that happen behind the tile from the visible choices: entry and drain geometry, waterproofing, fixture rough-ins, storage, glass, and only then finish layout.
System Components
Eight Decisions That Have to Work as One Shower
A useful shower plan connects movement and daily use to drain placement, the construction below the finish, and long-term maintenance. These are the parts Pioneer Construction reviews before the project becomes a tile-and-glass shopping exercise.
Shower footprint and entry
Measure how the shower, curb or lower entry, door opening, vanity, toilet, and bathroom circulation compete for the available floor area.
Waterproofing assembly
Plan the shower pan, slope, drain connection, wall substrate, seams, penetrations, corners, and transitions as a system behind the tile and grout.
Tile layout and finished edges
Coordinate tile size, pattern, grout joints, niches, benches, trim, outside corners, and the point where shower tile meets the rest of the room.
Glass and door movement
Compare panels, hinged or sliding doors, clear or privacy glass, hardware, splash control, and the clearance needed to enter and clean the shower.
Fixture and valve rough-ins
Set shower heads, hand showers, valves, diverters, controls, and supply locations before waterproofing and tile make changes more disruptive.
Storage, seating, and blocking
Place niches, shelves, benches, and grab bar blocking where they support reach and movement without undermining the waterproofing plan.
Tub-to-shower conversions
Evaluate the existing tub footprint, drain and valve locations, entry goal, and whether removing the tub fits how the household expects to use the room.
Curbless shower feasibility
Review floor height, structural or slab conditions, slope, drain strategy, waterproofing continuity, glass, and splash control before treating curbless entry as a finish choice.
Decision Paths
Keep the Tub, Change the Entry, or Expand the Scope
The same visual goal can require very different work depending on the existing tub or shower, floor elevation, drain, plumbing, walls, and nearby fixtures. Start with the decision path that solves the daily-use problem, then test it against the room.
Keep the tub or remove it
Start with household use rather than trend. A conversion may help when the tub is rarely used and entry is the main problem; retaining a tub-shower combination may make more sense when bathing needs still matter.
Curbed, lower-entry, or curbless
These are construction decisions, not interchangeable labels. Floor elevation, slope, drainage, waterproofing, splash control, glass, and the structure below determine which entry approach is practical.
Custom tile or broader bathroom scope
A shower can remain a focused project when the rest of the room works. If fixture movement, flooring, vanity clearance, lighting, or wall repairs connect to the wet area, the estimate should show that broader scope clearly.
Estimate Variables
Price the Assembly, Not Just the Finished Square Footage
Two showers with similar tile can require different demolition, repair, plumbing, waterproofing, glass, and labor. A Tyler estimate needs the actual footprint and system details before it can be specific.
What the first walkthrough can establish
The existing footprint, likely demolition, entry goal, fixture plan, visible conditions, tile direction, storage needs, and glass approach provide the starting scope. Hidden conditions remain unknown until opened.
Review bathroom remodel cost factors- Shower size and finished footprint
- Tile selection, pattern, grout, and trim details
- Waterproofing needs behind finished surfaces
- Plumbing changes or fixture relocation
- Glass door choice, measurements, hardware, and privacy glass
- Bench or niche details
- Grab bar planning and blocking needs
- Demolition needs and existing shower or tub removal
- Existing wall, floor, or subfloor damage
- Labor complexity, access, and scheduling
- Material availability and lead times
Build Sequence
Resolve Hidden Work Before Final Glass
- 1
Choose the use case
Clarify whether the priority is easier entry, keeping or removing the tub, more shower room, built-in storage, easier cleaning, or a full bathroom layout change.
- 2
Inspect the existing wet area
Measure the footprint and review visible wall, floor, drain, valve, access, door, window, and nearby fixture conditions before selecting a shower path.
- 3
Resolve the hidden system
Define demolition, repairs, pan and slope, waterproofing, drain, rough-ins, blocking, and substrate requirements before finish quantities are treated as final.
- 4
Lay out tile, storage, and fixtures
Coordinate tile geometry with niches, benches, valves, shower heads, trim, grab bar blocking, and the finished edges outside the shower.
- 5
Field-measure the enclosure
Confirm the finished opening for glass, then complete enclosure, hardware, sealant, cleanup, and the final walkthrough in the proper sequence.
Ready to test the shower idea against the room?
Share whether the priority is entry, tub removal, curbless construction, storage, fixtures, glass, or a layout change. The walkthrough determines which version fits the existing bathroom.
Reference Gallery
Identify Details Without Copying an Unverified Scope
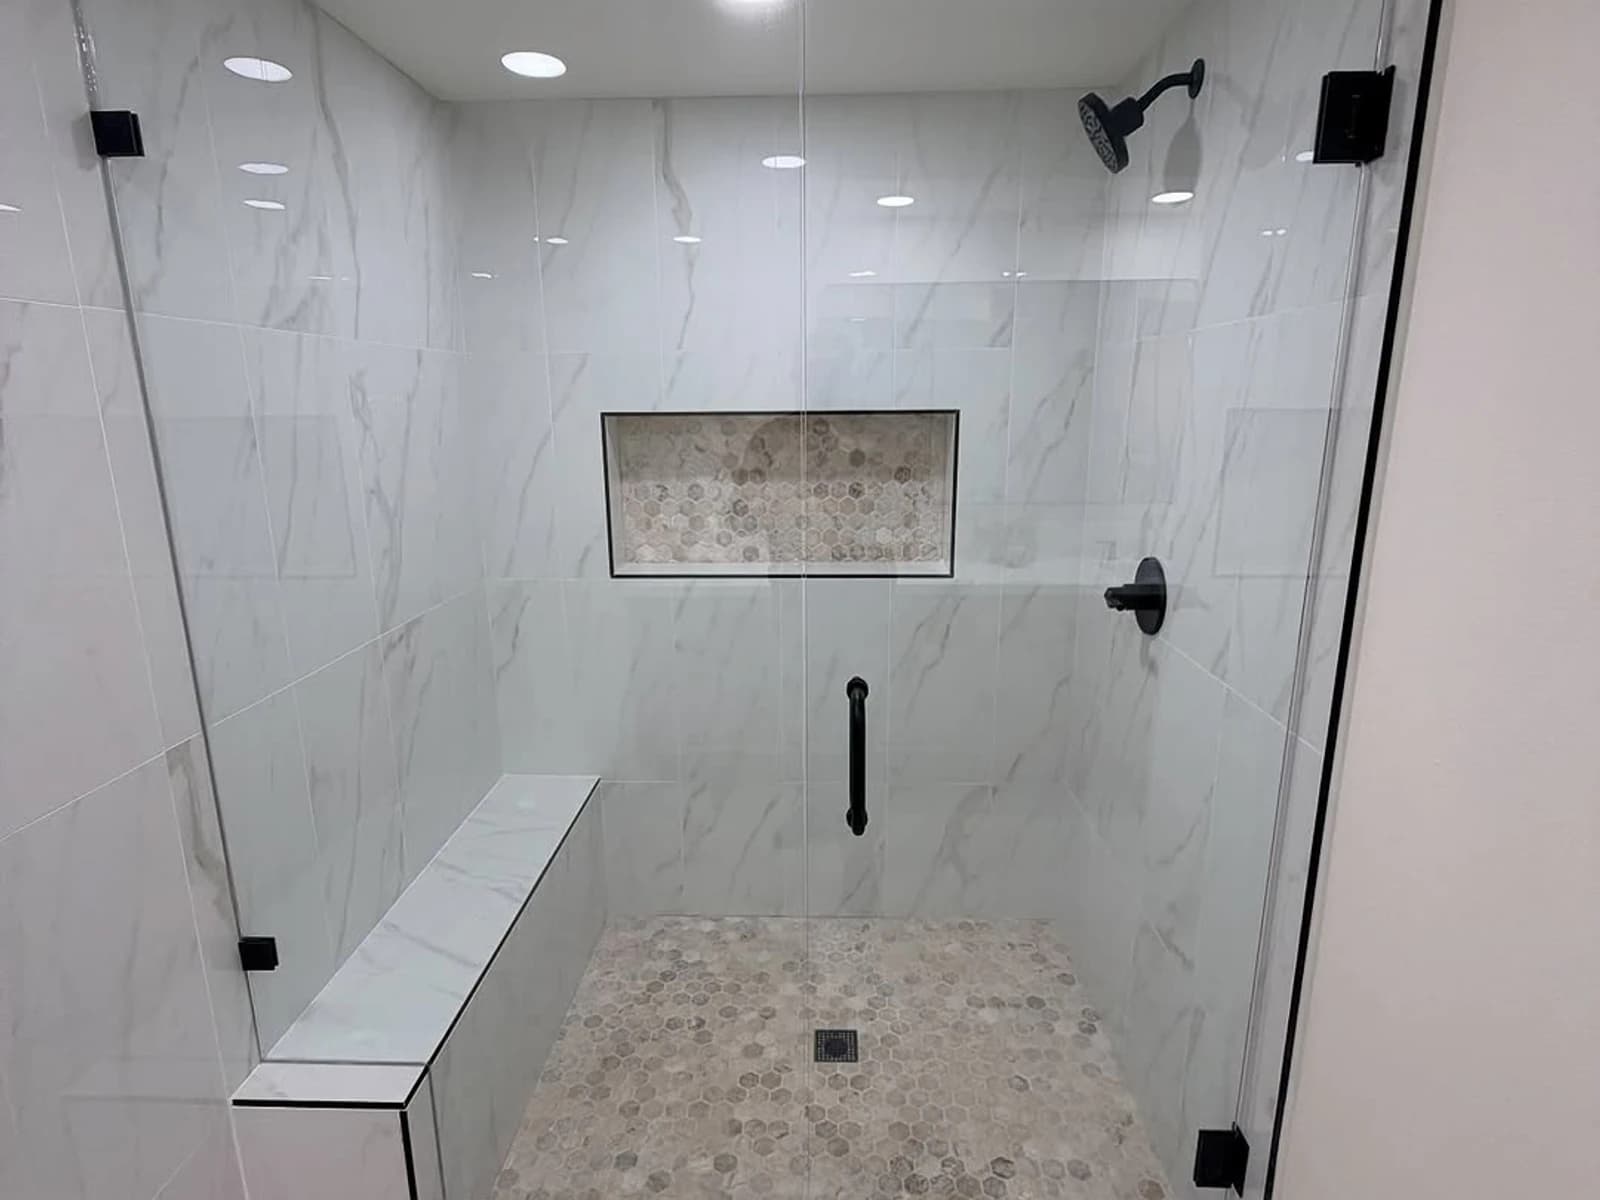
Use these Pioneer project images to point out tile, glass, bench, niche, fixture, and floor details. Only the published case study below is described as a Tyler project.
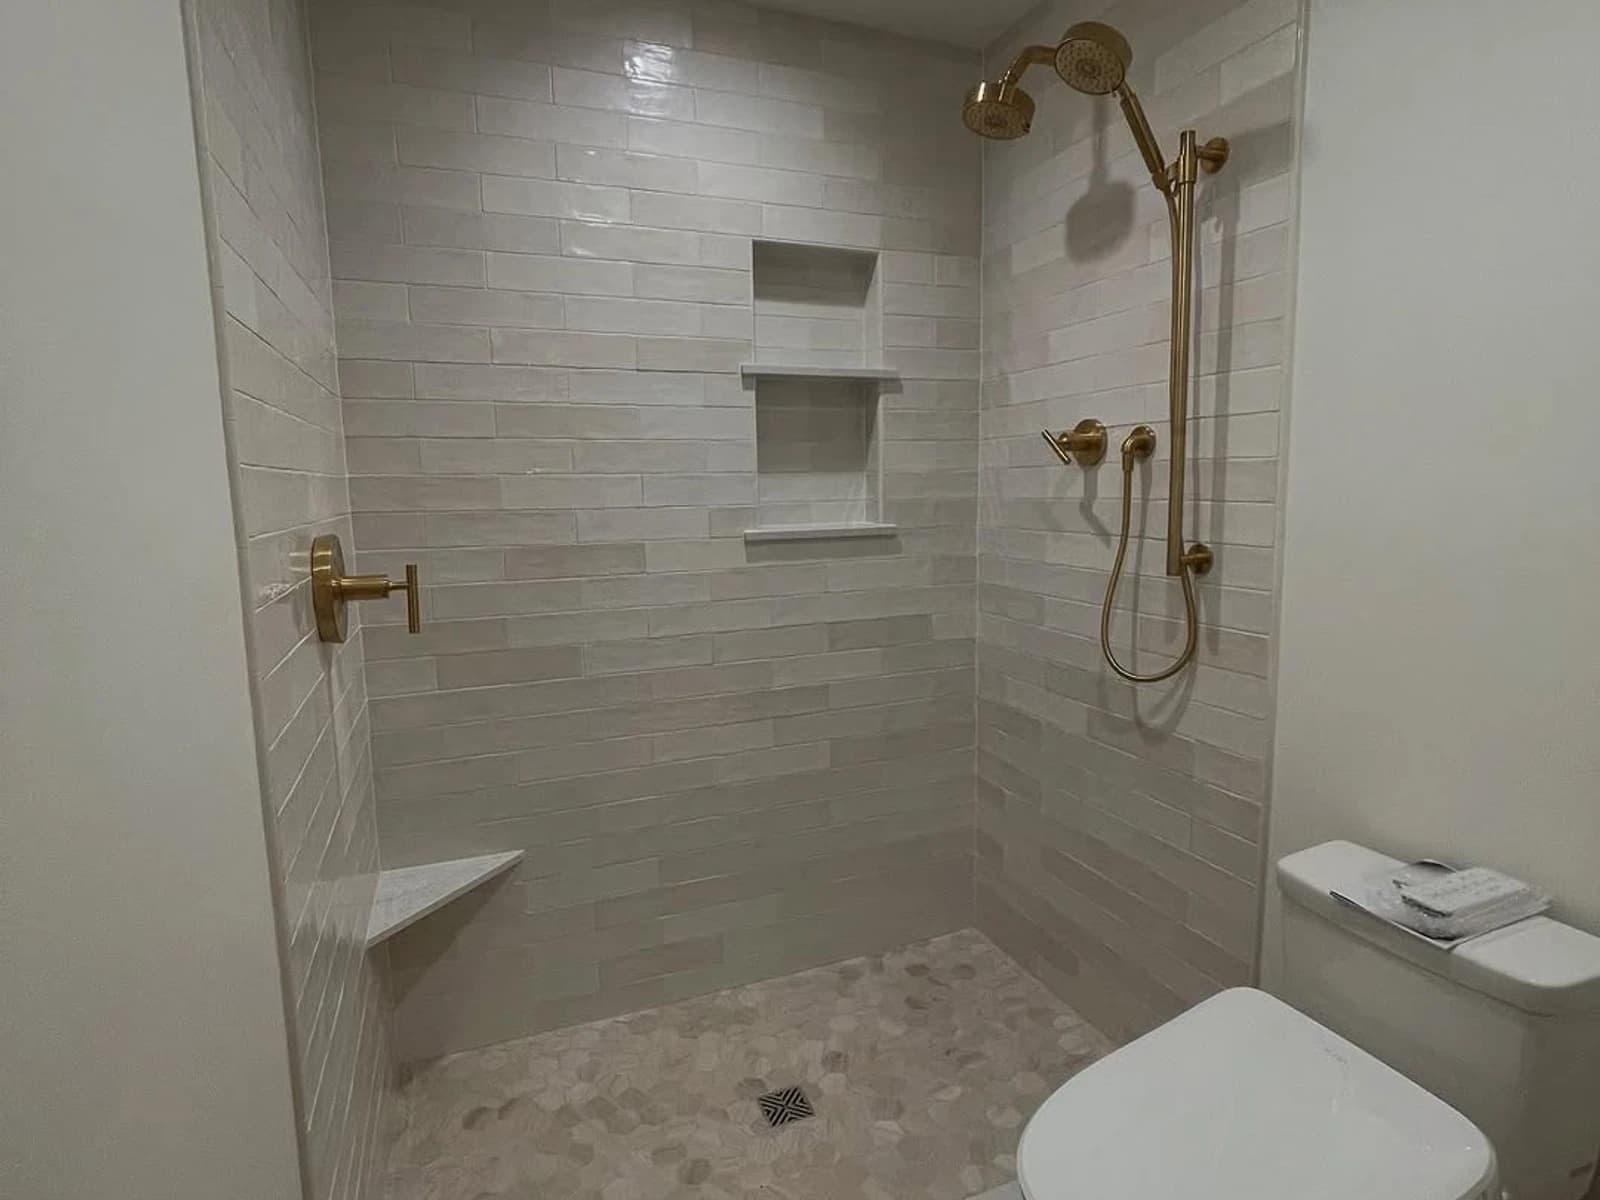
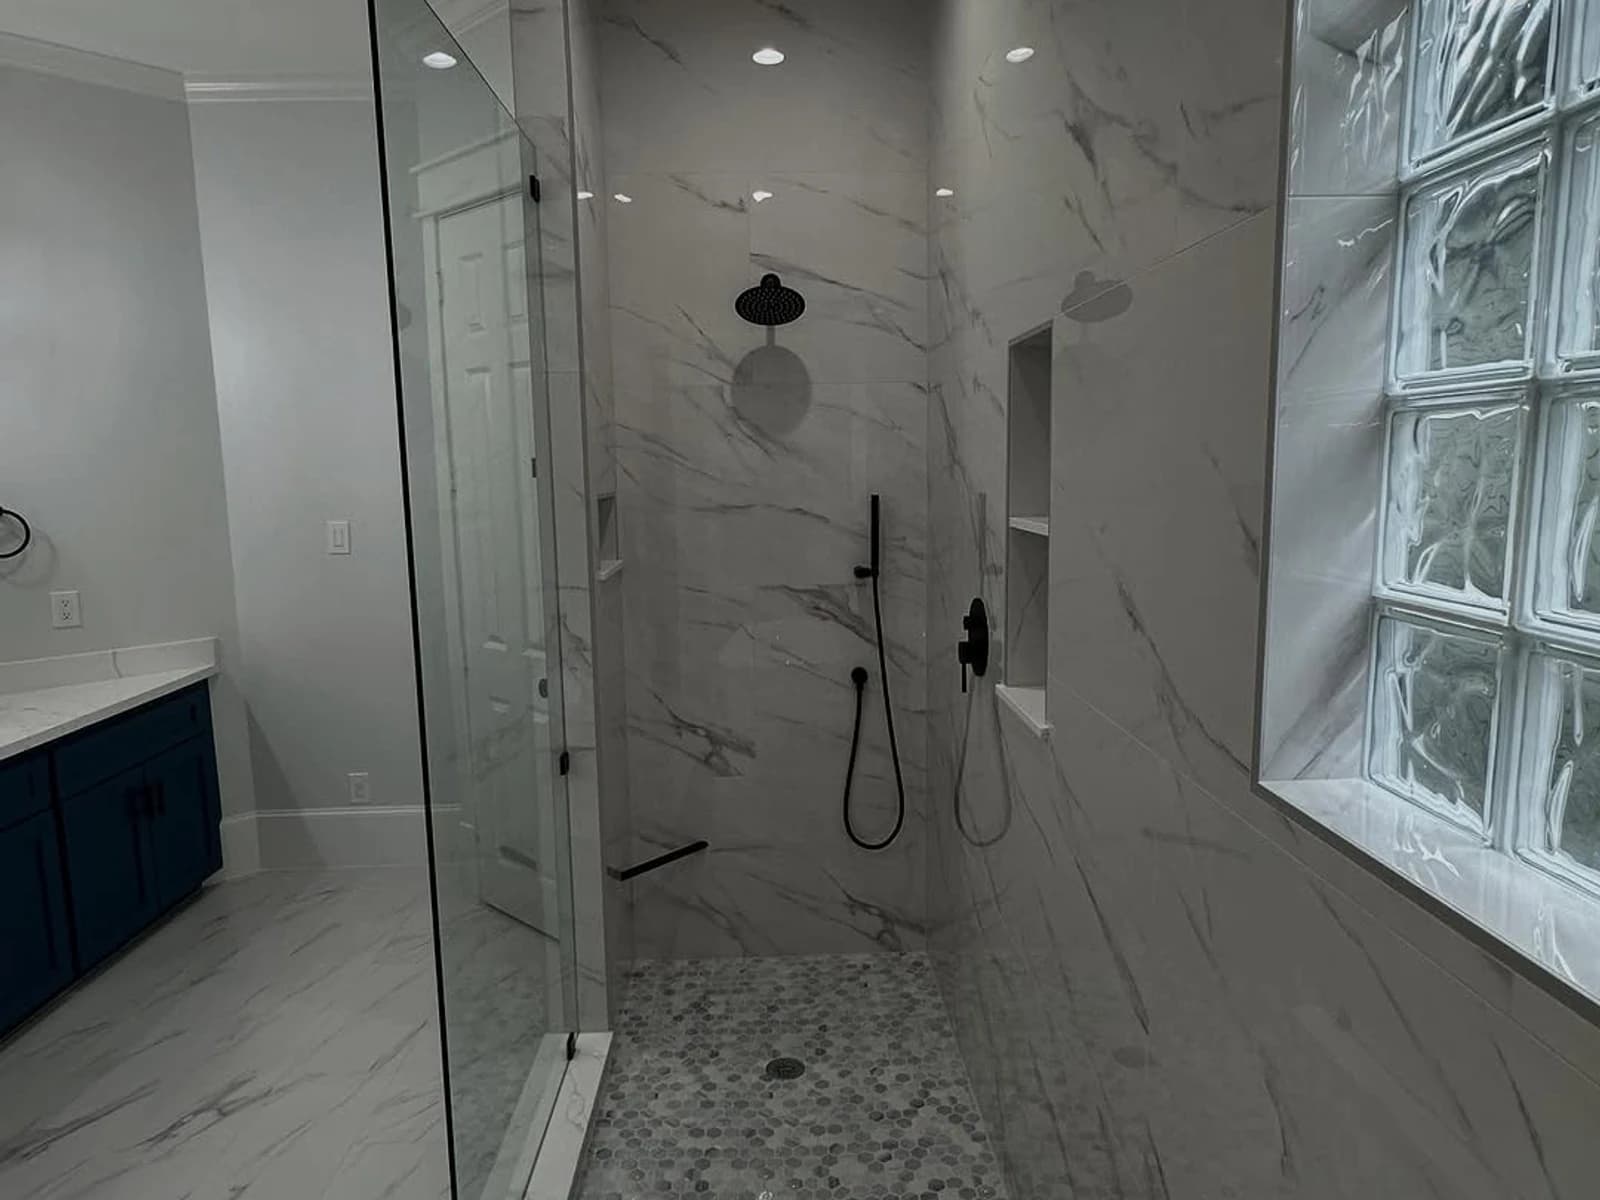
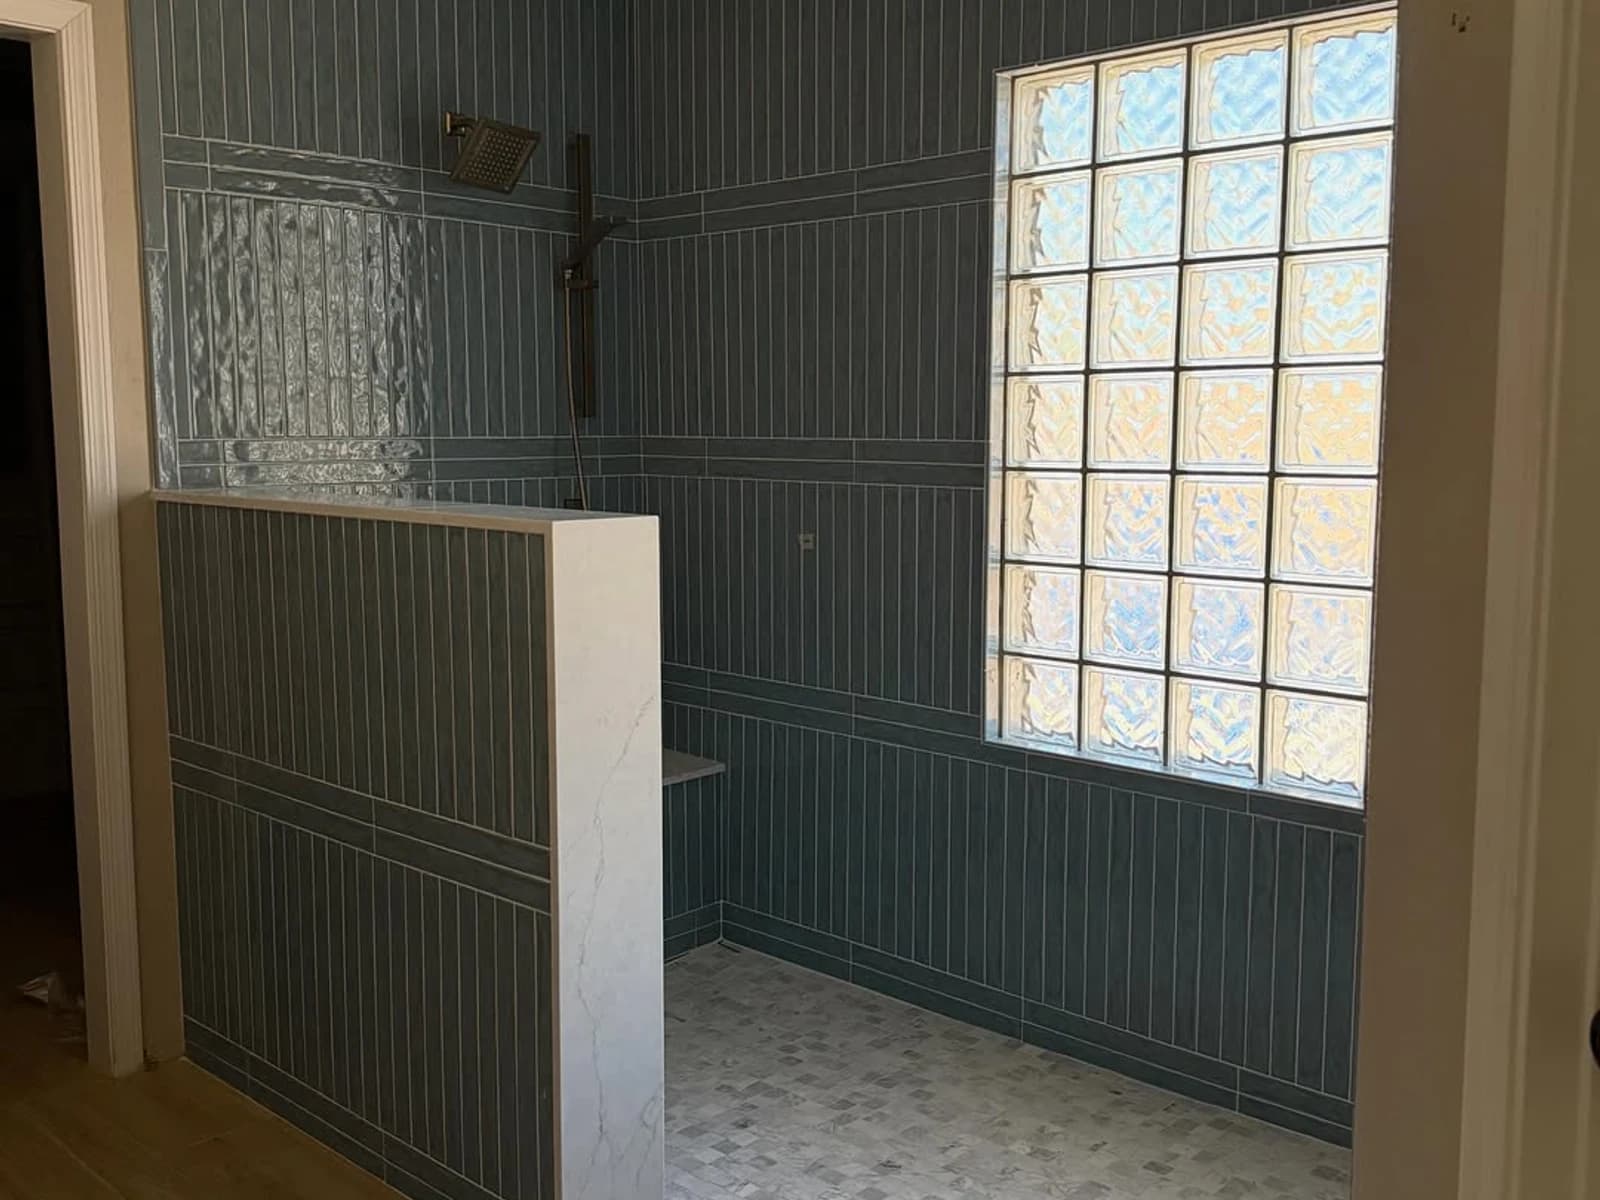
The hidden assembly does not appear in the finished photo
The Tyler bathroom still needs its own review of walls, floor, footprint, slope, drain, waterproofing, plumbing, glass movement, fixtures, and repair needs.
Next Step
Walk the space before pricing
Photos help with direction, but the estimate still depends on the actual layout, repair needs, material choices, trade coordination, and finish scope.
Verified Tyler Example
What the Published Tyler Shower Photos Actually Document
The Tyler bathroom case study shows a custom shower created within a larger layout remodel: the shower and tub locations were swapped, and the finished shower includes pony walls, glass doors, tile, black fixtures, rainfall and standard shower heads, and diverter controls.
Slope and drain work together
The shower floor must direct water to the drain while supporting the chosen entry, tile, waterproofing, and finished floor elevations.
Tile and grout are not the waterproofing
The water-management layer sits behind or beneath the visible finish, including its seams, corners, penetrations, and transitions.
Niches affect more than storage
Their wall position, framing, slope, waterproofing, trim, tile cuts, and reach should be settled before installation starts.
Benches consume usable footprint
A bench can support seating or storage, but its depth, location, waterproofing, and relationship to the spray pattern need room-specific planning.
Glass follows finished geometry
Wall alignment, curb or floor conditions, tile thickness, panels, hinges, and door movement all matter to the final enclosure measurement.
Controls should be reachable
Valve, diverter, and shower-head placement should make sense from the entry and inside the shower without conflicting with glass or storage.
Tyler Shower Library
Compare Construction Requirements and Use Cases
These source-backed guides cover waterproofing, curbless feasibility, tub removal, shower-versus-tub decisions, cost factors, and the documented Tyler project.
Custom Showers
Tile Shower Waterproofing in Tyler, TX: Why Tile and Grout Aren’t Enough
Tile and grout are not the waterproofing system. Here’s what Tyler and East Texas homeowners should know about shower waterproofing before starting a custom tile shower or tub-to-shower conversion.
Read GuideCustom Showers
Curbless Shower in Tyler, TX: Cost, Pros, Cons, and Installation Requirements
A curbless shower can improve access and create a cleaner bathroom layout, but it requires careful floor-height, slope, drain, waterproofing, and splash-control planning. Here’s what Tyler and East Texas homeowners should know before building one.
Read GuideCustom Showers
Tub-to-Shower Conversion in Tyler, TX: Cost, Timeline, and What to Know Before Removing the Tub
Thinking about replacing an old tub with a walk-in shower? Here’s what Tyler and East Texas homeowners should know about cost factors, waterproofing, timelines, and hidden bathroom damage before starting a tub-to-shower conversion.
Read GuideBathroom Remodeling
Walk-In Shower vs. Tub-Shower Combo: Which Is Better for Your Tyler, TX Home?
Trying to decide between a walk-in shower and a tub-shower combo? Here’s what Tyler and East Texas homeowners should consider before removing the tub or keeping it.
Read GuideRemodeling Costs
Shower Remodel Cost in Tyler, TX: What Actually Affects the Price?
Shower remodel prices can vary because the real cost depends on waterproofing, tile, glass, plumbing, shower pan type, layout changes, and hidden damage. Here’s what Tyler and East Texas homeowners should know before comparing quotes.
Read GuideBathroom Remodeling
Bathroom Layout Remodel and LVP Flooring Project in Tyler, TX
Pioneer Construction swapped the shower and tub locations, installed a freestanding tub, shower glass, tile floors, lighting, countertops, and LVP flooring throughout a Tyler, TX home.
View Case StudyRelated Scope
Know When the Project Is Bigger Than the Shower
Whole-room Tyler planning
Add vanity, flooring, lighting, ventilation, tub, and room-layout decisions when the wet area cannot be separated cleanly.
Review Tyler bathroom scopeLongview shower scope
Use the Longview page for a Longview project and its estimate-readiness, shower-option, and related planning resources.
Open the Longview shower guideBroader cost inputs
Review how layout, repairs, plumbing, fixtures, tile, and finish scope affect a bathroom estimate beyond the shower enclosure.
Review bathroom cost factorsBefore you choose a contractor
See our work and hear from customers
Browse project details and photos, and read customer feedback before requesting an estimate.
Tyler custom shower project
Glass doors, tile, and dual shower heads
This Tyler project included glass doors, pony walls, tile, black fixtures, rainfall and standard shower heads, and diverter controls.
See the Tyler shower projectCustom shower feedback
“Just met Jose about 3 weeks ago and now at the end of those 3 weeks we have a brand new walk in shower!!!! It was a 4 day project that looks and works wonderfully! Very very reasonably priced, much better than the competitors! His crew is top notch, very polite, very knowledgeable and willing to answer all questions! Pioneer Construction will be my go to, from now on!”
Joe Shafer
Shared by Pioneer Construction. The original review platform, date, and project location are not listed.
FAQs
Tyler Shower System and Layout FAQs
Is tile and grout enough to waterproof a custom shower?
No. Tile and grout are the visible finish, not the complete water-management system. The plan also needs a suitable substrate, shower pan or floor assembly, slope, drain connection, waterproofed seams and corners, and careful treatment around penetrations.
Can every Tyler bathroom support a curbless shower?
No. A curbless shower depends on available floor height, structure or slab conditions, drain and slope options, waterproofing continuity, splash control, and how the bathroom floor meets the shower. It needs a room-specific feasibility review.
When does removing the tub make sense?
A tub-to-shower conversion can fit when the tub is rarely used, stepping over it is a problem, and the household values shower space more. Keeping a tub can still be the better choice when bathing needs or household plans require it.
When should niches and benches be located?
Before framing, waterproofing, and tile layout are finalized. Their placement affects structure, water management, tile cuts, reach, spray exposure, usable floor area, and sometimes the glass enclosure.
When is custom shower glass measured?
The final enclosure normally needs field measurements after the surfaces that define the opening are installed. Glass style, door movement, hardware, and likely panel locations should still be discussed earlier so the layout does not create conflicts.
What can make a shower estimate change after demolition?
Hidden water damage, framing conditions, drain or plumbing issues, unsuitable substrate, an out-of-level floor, and scope that was not visible during the initial walkthrough can affect repairs, labor, materials, and schedule.
What did Pioneer's documented Tyler shower project include?
The published case study documents a shower-and-tub layout swap, a custom shower with glass doors and pony walls, tile, black fixtures, rainfall and standard shower heads, and diverter controls. It is one verified project example, not a standard package.
What should I bring to a Tyler shower walkthrough?
Bring the project address, photos or inspiration, the current shower or tub problems, who uses the space, whether the tub should stay, and priorities for entry, glass, fixtures, seating, storage, tile, and maintenance.
Can Pioneer give a custom shower price by phone?
A call can narrow the project type, but a project-specific estimate depends on the footprint, demolition, prep, plumbing, waterproofing, tile, fixtures, glass, hidden conditions, access, labor, and schedule seen at the home.
Request an Estimate
Request a Tyler custom shower estimate
Share the existing shower or tub footprint, the entry and fixture goals, and the project ZIP code. Pioneer Construction will review the details before confirming the next step.
Prefer a direct conversation? Call (903) 364-6195 or email contact@thepioneerconstruction.com.
Ready to Test a Tyler Shower Plan in the Actual Room?
Bring the entry goal, tub decision, storage needs, fixture ideas, and glass preferences. Pioneer Construction reviews the footprint and builds an estimate around the construction the room requires.